Creating Your Perfect Logo: A Step-by-Step Guide
Creating Your Perfect Logo: A Step-by-Step Guide
Designing the perfect logo for your brand is like creating a tiny piece of art that tells a big story. It’s the face of your brand—something that can make you stand out in a crowd of businesses. But don’t worry! You don’t have to be a world-famous artist to design a great logo. Just follow these simple steps, and you’ll be on your way to creating a logo that’s both awesome and unique.
Step 1: Understand What a Logo Is All About
First things first, a logo is not just a random picture or some words. It’s a visual that represents your brand’s personality, values, and products. Think about some famous logos, like the apple for Apple or the golden arches for McDonald’s. They’re simple but super powerful. Your logo should tell your brand’s story in a glance.
Step 2: Find Your Inspiration
Before you start sketching, it’s good to have a clear picture in mind. Think about what makes your brand special. Is it fun and playful? Or maybe it’s more serious and professional? Look around at other logos, nature, art, or anything that sparks your creativity. Inspiration can come from anywhere!
Step 3: Choose Your Design Style
Now that you’ve got some inspiration, it’s time to think about style. Do you like classic looks, or are you more into modern designs? Maybe you’re all about being minimalist (that means keeping it super simple) or fun and quirky. Your style should match your brand’s personality. This will help people understand what your business is all about just by looking at your logo.
Step 4: Pick Your Colors and Fonts Carefully
Colors and fonts (that’s the style of your letters) say a lot about your brand. Some colors can make people feel happy or calm, while others can grab their attention. And fonts can make your logo look serious, fun, fancy, or modern. Think about what feelings you want your brand to evoke, and choose your colors and fonts to match that.
Step 5: Sketch and Experiment
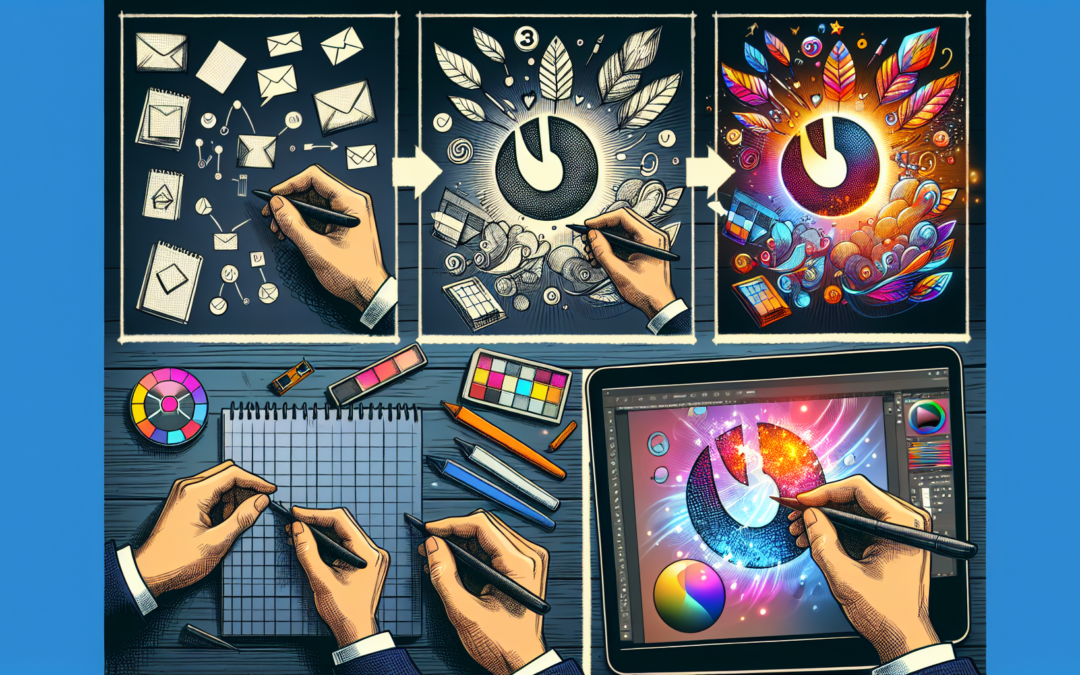
It’s time to bring your ideas to life! Grab a piece of paper and start sketching. Don’t worry if you’re not the best artist; it’s all about getting those ideas out. Play around with different designs, layouts, and styles. Sometimes, the best ideas come from just messing around and seeing what happens.
Step 6: Get Some Feedback
Once you’ve got some designs down, show them to friends, family, or even people who might be your customers. They can give you some great feedback about what works and what doesn’t. Remember, you don’t have to take every piece of advice, but it’s good to hear what others think.
Step 7: Refine Your Design
Based on the feedback you got, choose the best ideas and start refining your design. This means making it cleaner, making sure the colors look good, and making sure that everything is easy to understand at a glance. You might go through a few rounds of changes, and that’s totally okay. It’s all part of the process.
Step 8: Make It Official
Once you’re happy with your logo, it’s time to make it official. If you used paper and pen for your designs, you might want to use a computer program to create a final, digital version of your logo. There are lots of tools out there, from free ones to professional software, that can help you make your logo look amazing.
And there you have it! By following these steps, you’ll be well on your way to creating a logo that not only looks great but also tells your brand’s unique story. Remember, designing the perfect logo takes time and patience, so don’t rush it. Good luck!

Recent Comments